Book Appointment Now
Temporary Tattoos! How to make a Temporary Tattoo?
Temporary Tattoos!! How to make a temporary tattoo?

Tattoos are the form of body art. Various designs, shapes, colors, phrases and words are used to fulfill one’s wish to engrave ink on the various body parts. But Engraving permanent tattoos is truly a tedious and painful process. Instead, Temporary tattoos are an easy option. Applying temporary tattoo is an easy process and they last for few couple of days.
There are 3 different ways to apply the temporary tattoos. They are:
- Transfer Tattoo
- Stencil Tattoo with tattoo ink
- Glitter tattoo with stencil
Now let’s go ahead with each process in Detail:
Transfer Tattoo

Requisite : Cleansing wet Tissue, Tattoo Transfer sheet, scissor, wet sponge/cloth/cotton
Process:
- Get ready with your tattoo design. Cut your desired tattoo from the multiple design transfer sheet. If your tattoo is single on the transfer sheet, ignore the previous step.
- Clean the skin area where you are intending to get the tattoo. This will ensure removing excess dirt and oil from the skin to facilitate easy and good transfer of design.
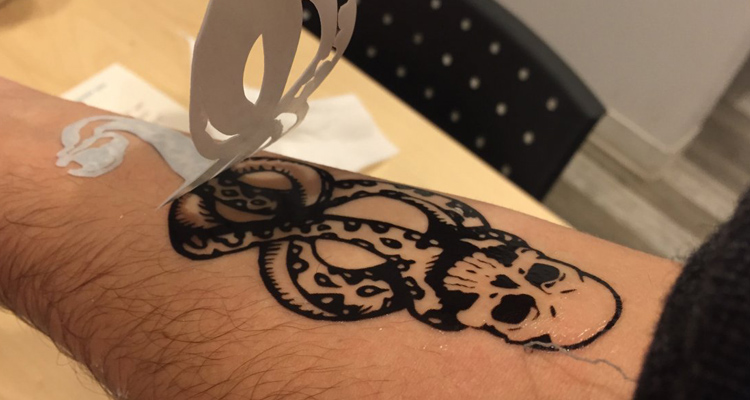
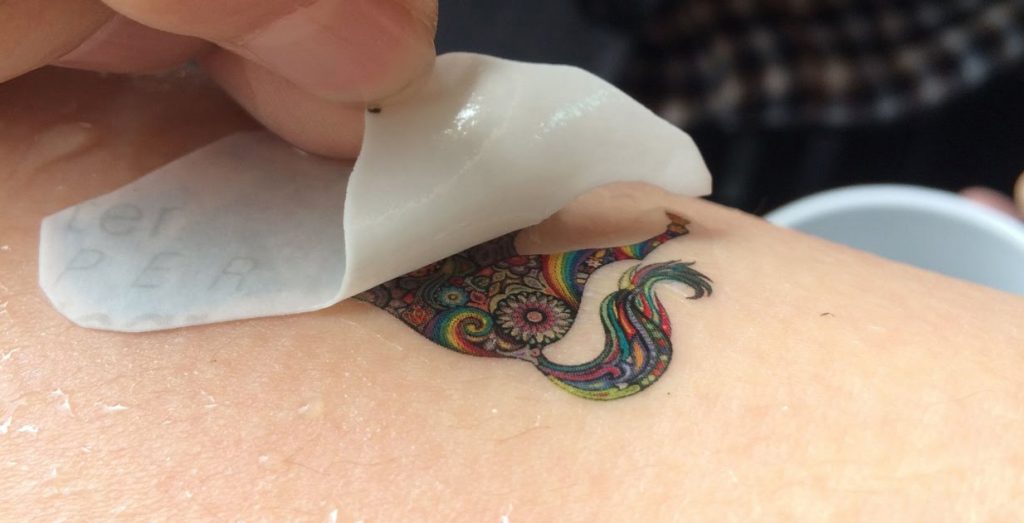
- Remove transparent and protective tattoo sheet cover and place the tattoo down facing the skin. Do not make the movements and make it sure it is in the right position.
- Press firmly onto the design for a minute and place the wet cloth/sponge/cotton to ensure easy transfer of the design.
- Remover the wet sponge from the tattoo and and slowly remove the tattoo paper from the skin.
- Let the tattoo air dry in a natural way.
Stencil Tattoo With tattoo Ink

Requisite : Wet Towel, Self-adhesive Tattoo, Tattoo ink and paint brush or tattoo ink pen.
Process:
- Clean the area to be tattooed with the help of wet towel to shed off extra oil and dust from the area and let it dry naturally.
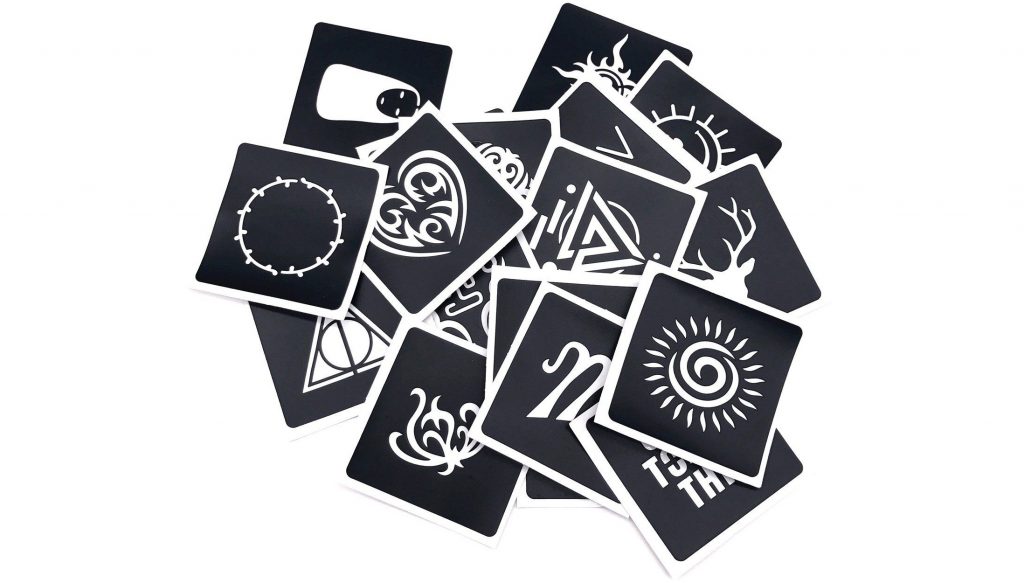
- Positioned the self adhesive tattoo stencil on the desired area of the tattoo and hold it firmly.
- Draw and fill inside the design with the help of the tattoo ink pen or use brush to apply ink inside.
- Remove the stencil gently once the application is finished and let the tattoo ink dry naturally.
- Avoiding re-using the stencils, though if the application is on the body of the same person, it can be reused.
Glitter Tattoo with Stencil

Requisite: Wet Towel, Self-adhesive Tattoo, skin-friendly glitter, body-safe glue, paint-brush.
Process :
- Clean the skin and positioned the tattoo in the same way as prescribed in the above process of stencil tattoo with tattoo ink.
- Apply a thin layer of glue with the help of a paint brush inside the vacant place of the stencil. Let it settle for a while and wait to get it clear to allow the glitter to stick and settle on it.
- Now, use the brush again, dip it into the glitter and apply it on the thin layer of glue.
- Remove the Stencil gently.
- Remove the excess glitter either by another brush or by tapping gently on the side areas of the tattoo.
Happy Tattooing!!

